
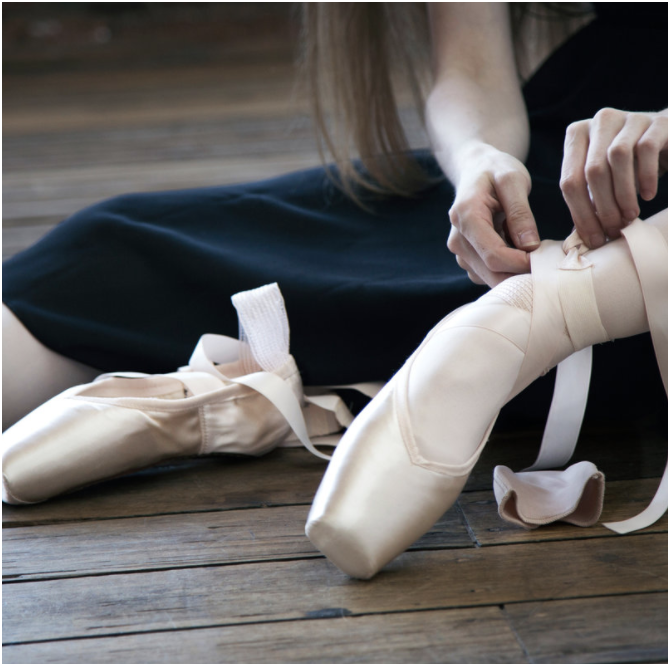
Sewing your Pointe Shoe Ribbons: A Guide
Sewing ribbons on your pointe shoes. Seems easy enough? However, when we tell first time dancers or dance parents that the ribbons need to be sewn on the shoes, we are often met with nervous looks of apprehension. But sewing your ribbons on to your shoes isn’t actually that difficult! Once you’ve done your first pair you’ll feel like a pro and end up helping others with this somewhat ‘daunting’ task. While it can feel a little tedious, think of it as mindful activity that you can do while you’re sitting in the sun or watching your favourite TV show.
Outlined below is a step-by-step guide that will assist you with sewing on your ribbons. We highlight what you’ll need and also explain how to sew on your elastic if that’s something that needs to be done too!
What you’ll need:
Pink or white cotton/thread
Needle
Thimble (optional)
Ribbon
Elastic (if required)
Pencil
Safety Pins/Sewing Pins
Step One
To start off, bend the back heel of the shoe forward towards the front of the shoe, then straight down so it looks like a fold (Diagram 1). With a pencil, make a mark on the cotton lining where the fold is on both sides of the shoe (position 3 in the diagram). This will be where you sew your ribbons. Once you’ve marked where you’ll be sewing on the shoes, you can unfold the heel back to its original shape to make it easier for you to start sewing your ribbons.

Diagram 1
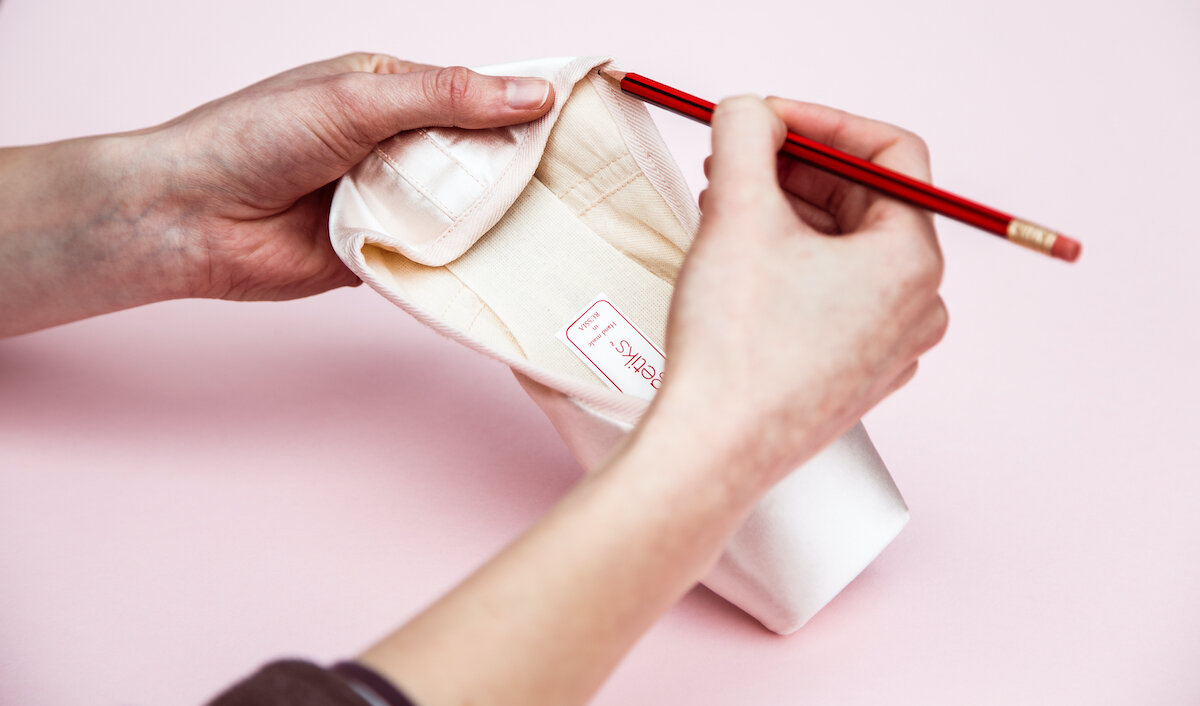
Marking where to sew the ribbons on your shoes.
Step Two
Pointe Shoe Ribbon comes in one long piece. To work out what you’ll need for each shoe, cut the ribbon in half and then cut those halves in half again so you are left with four even pieces, one for each side of the shoe.
If you’re using Stretch Pointe Shoe Ribbon, you’ll need to do the same thing.
If you’re wanting to use the Flexi-Ribbon, it will already come in four even pieces. There will be a longer section and shorter section either side of the ribbed elastic. The shorter side will be the side that gets sewn onto the shoe.
*details on how to sew Flexi-Ribbon will be shared later as it will differ slightly.
Step Three
Place a piece of ribbon at the marked position and sew through the inner cotton lining only (not the satin), all around the edge of the ribbon. Ensure you don’t sew the ribbon through the binding as the drawstring won’t be able to be adjusted and the binding may pull away from the satin.
Repeat this on each side for both shoes (four times in total).

Step Four
Once you’ve sewn your ribbons on you can then trim the ends to the required lengths. This is usually best done when you’ve put your shoe on, tied the ribbons around the ankle, and double knotted them. You can then trim the excess, allowing a few cm of overhang in case you want them tighter or looser on certain days. One length of ribbon will be shorter than the other due to the way the ribbons need to be tied.
To prevent them from fraying you can apply clear nail polish to the ends or you can get a lighter or match and lightly burn the edges.
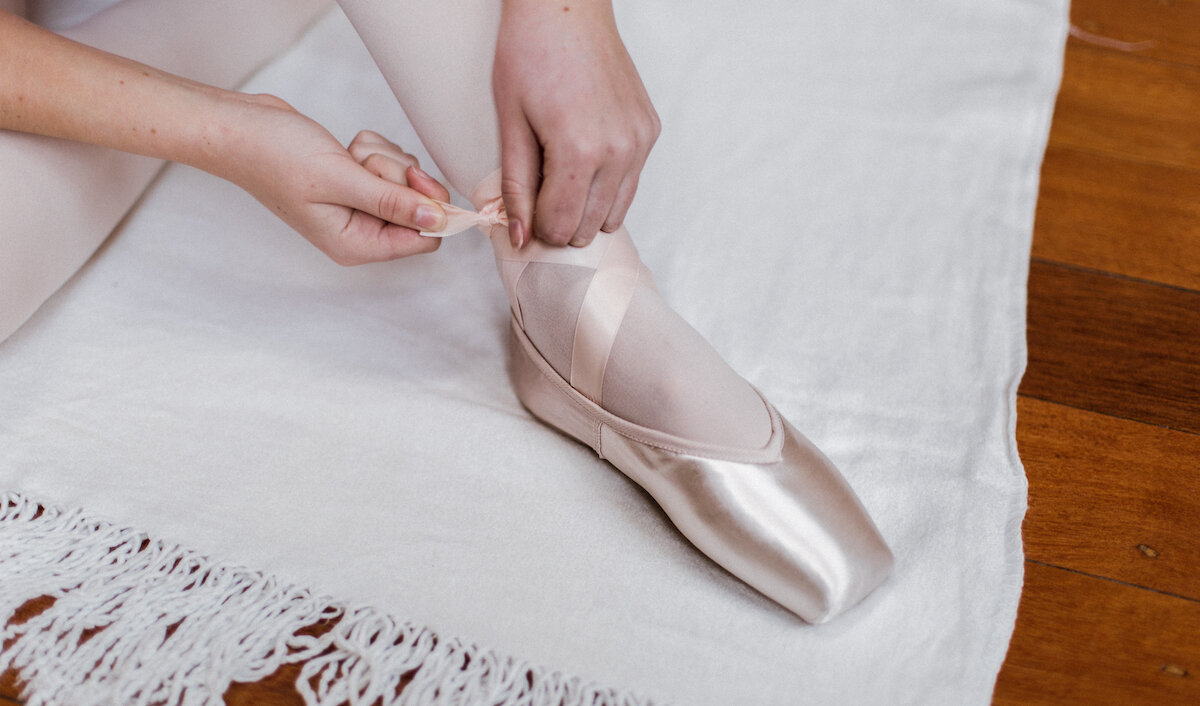
If you’re unsure of how to tie your shoe ribbons, you can have a look at our blog ‘Tying your Pointe Shoes: A Guide’.
Step Five
This step is for those who also want to have elastic on their pointe shoes to provide a little extra support (position 4 on diagram 2).
To sew on your elastic you’ll first need to pin it on one side of the back heel seam. You can use a safety pin or sewing pin to do this. Put your shoe on and then stretch the elastic around your ankle to where it feels comfortable for you and then pin it on the other side of the back heel seam. Once you’ve taken your shoe off you can then sew it in to place, as you did with the ribbon, and remove the pins.
These steps will be the same regardless of whether you choose to use Ballet Elastic or Shirbrand Elastic.
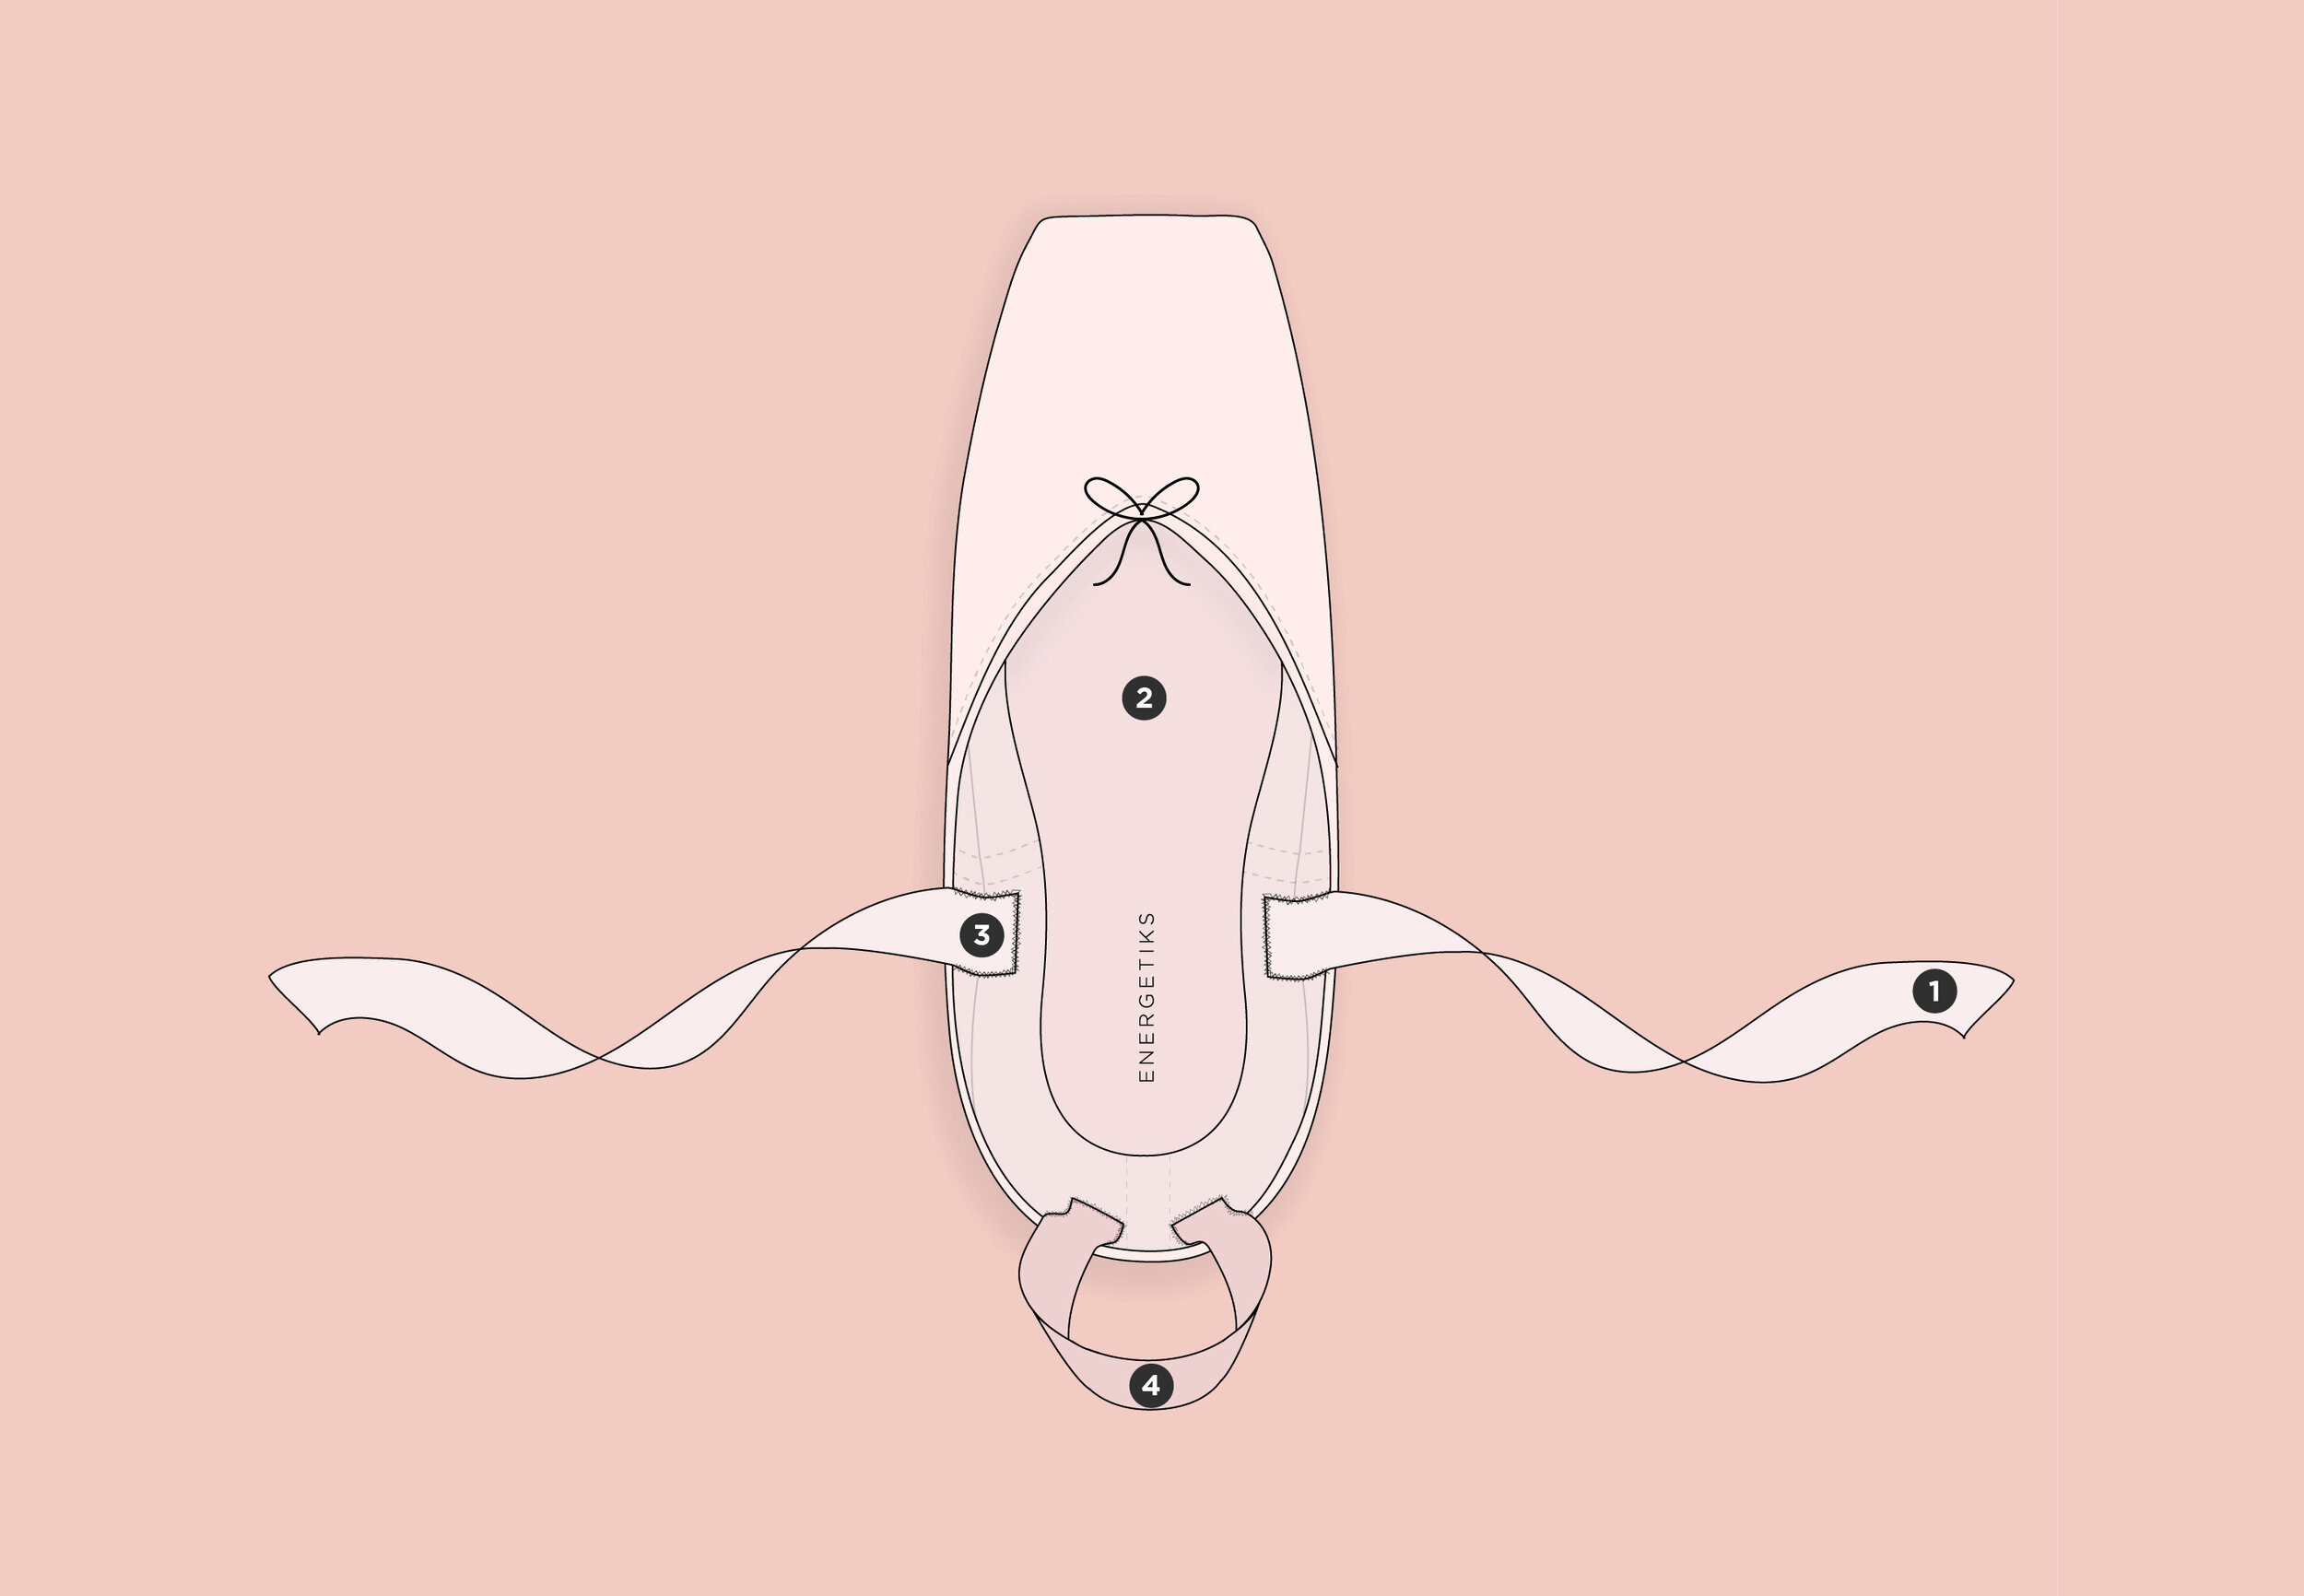
Diagram 2

Elastic being placed further down the shoe.
Extra Tips
Flexi-Ribbon Sewing - The main difference when sewing Flexi-Ribbon is to ensure you have the ribbed elastic section sitting perfectly on your achilles tendon. In order to do this, perform Step One where you bend the heel and mark the position, then put the shoe on. Stretch the elastic around the achilles and then pin the shorter end to the mark that has been made on the side of the shoe. Repeat for the other side and then tie the ribbons up. Double check the elastic feels comfortable and tweak where required. Once this has been done you can continue with Steps Three & Four.
For extra support, ribbons can be sewn further down the shoe closer to the inner sole. You can also place the ribbon on a slight angle towards the front of the shoe to provide more security. Elastic can also be sewn closer to the ribbons or further down the shoe - wherever feels best for you.
The same steps can be followed to sew ribbons on to your ballet shoes. The main differences are the ribbon width will be narrower for ballet shoes, you’ll be using a leather shoe instead of satin and you won’t need to attach elastic around the ankle.
That’s it! With a bit of practice you’ll soon be sewing those ribbons with your eyes closed (almost!). For more tips and tricks when it comes to pointe shoes have a look at our Ballet 101: All about Pointe Shoe Padding or Pointe Shoe Care: Tips to make your pointe shoes last articles.
Happy Sewing!
Article by Sheree Ronai-Horvath
Photography by Elly Ford
Read More:
Pointe Shoe Care: Tips to make your pointe shoes last
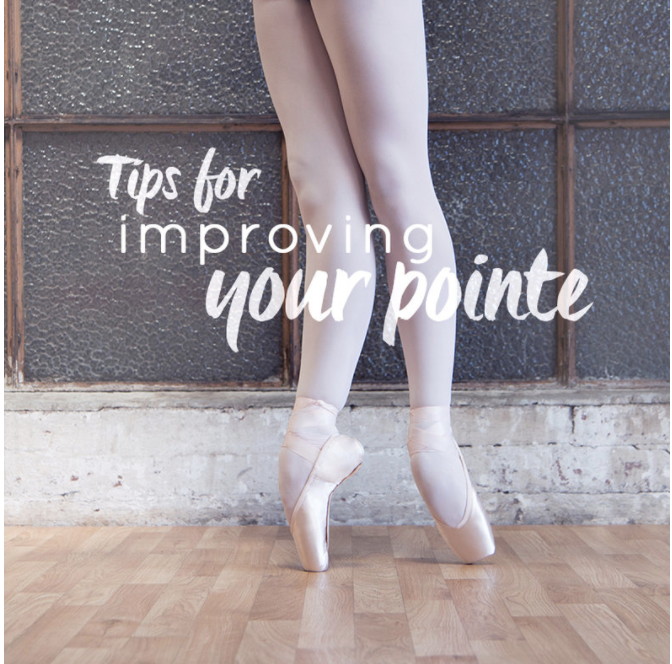
Improving your pointe: 7 steps to a better arch

Talking Pointe | Q & A with an Energetiks Pointe Shoe Fitter

