
Ballet 101: A Guide to Sewing Ribbons on Your Ballet Flats
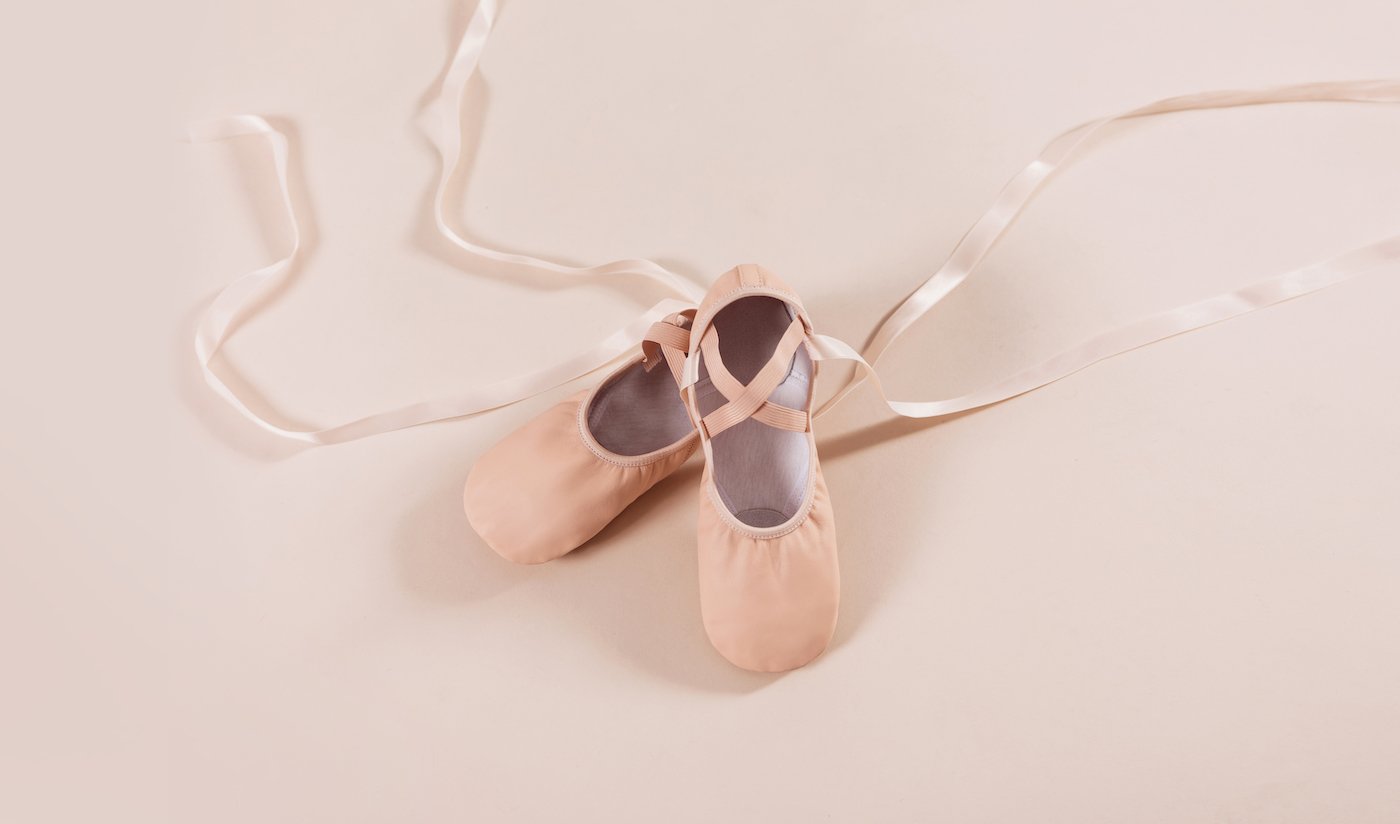
Whether it’s simply for day-to-day class, dance performances or perhaps exams, many dance students will at some point be required to sew ribbons onto their ballet flats. This can be an aesthetic preference from your teacher, a matter of tradition (popular in both RAD and Vaganova training) or a way to prepare you for going en pointe by familiarising you with both the ritual and feel of sewing, tying and wearing ribbons for ballet class. Whatever the case may be, if you’re looking for a simple guide to walk you through the process of sewing ribbons on your ballet flats, we’ve outlined all the steps you need to take below. Let’s get sewing!
What you need:
Pink or white thread
A sewing needle
Ballet ribbon (cut into 4 even lengths)
A pencil
Scissors
Clear nail varnish for sealing the ribbon
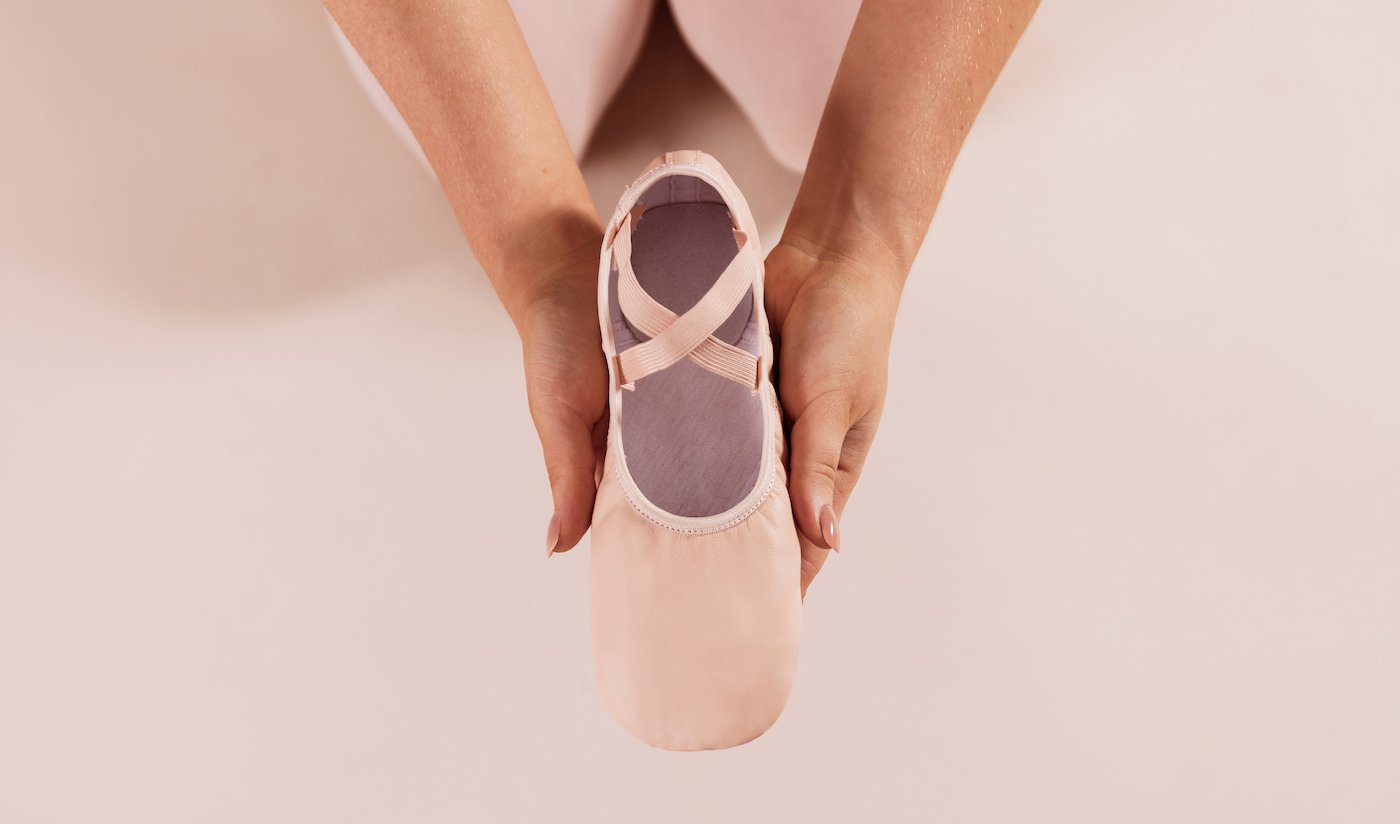
1. Take a long section of thread (approx. 30cm) and tie one end repeatedly to create a strong knot, then thread the other end through your sewing needle. Next, holding the back of your ballet shoe, fold the heel over towards the toe of the shoe until it is lying flat, creating a gentle crease line.

2. Using your pencil, lightly mark a line on each side of the cotton lining of the shoe (where the edges of the folded heel meet the sides of the shoe). This will be your guide for where to attach the ribbon. Once you have made two marks, unfold the shoe in preparation for sewing.

3. Using your pencil mark as a starting point, place your first piece of ribbon on the inner lining of the shoe at a slight diagonal angle (this is to allow the ribbon to lay flat against the ankle when tied). When positioned correctly, the very end of the ribbon should be facing slightly towards the heel of the shoe, with the length of the ribbon running up over the side of the shoe and slightly towards the toe. Allow roughly 4cm of ribbon to be placed against the inner lining of the shoe to create ample sewing room. You may also choose to double fold the section of ribbon being sewed to make your ribbon extra secure.

4. Using small stitches, sew all around the outside of the 4cm length of ribbon, securing it to the inner lining of the shoe. Be careful to only sew through the inner cotton layer and not the binding or outer leather layer of your ballet shoe. Once you have sewn all four sides of your ribbon, finish by knotting the thread securely and cutting the excess off. Repeat this process again with the other side and again for your second shoe, being sure to mirror the angle of each ribbon to ensure an even finish.

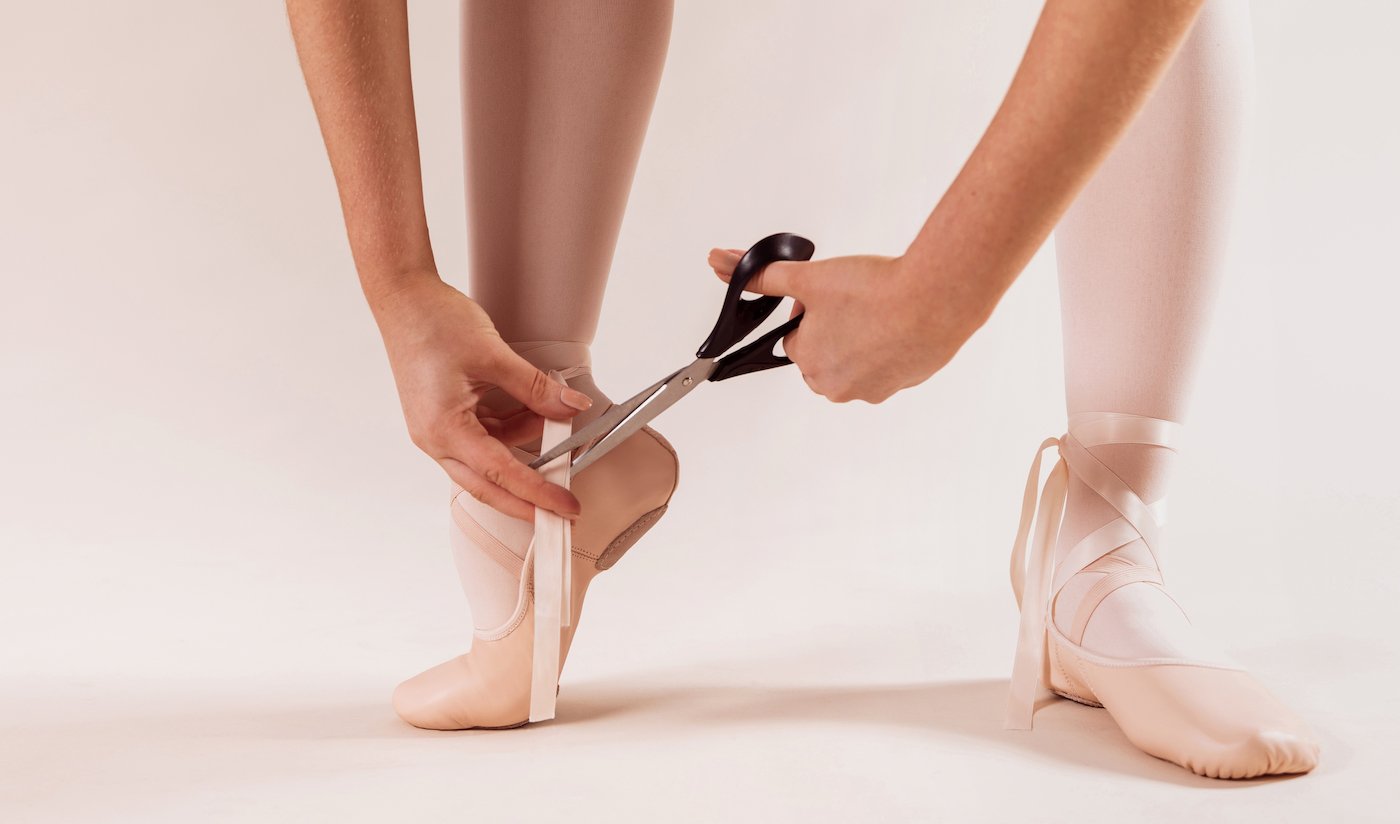
5. Next, put your ballet flats on and tie your ribbons by wrapping each length around the ankle twice and securing with a double knot at the inner ankle. If there is excess ribbon after tying, cut the ends of your ribbon, leaving approximately 3-4cm to allow for easy tying. To prevent your ribbon from fraying you can also coat the cut edge of each ribbon with a clear nail varnish to seal the ends again.
6. Some schools or dancers may also prefer to remove the elastics from their ballet flats once their ribbons have been secured properly. This is up to you and your dance teacher, so if in doubt always check with your teacher regarding their preference for elastics.
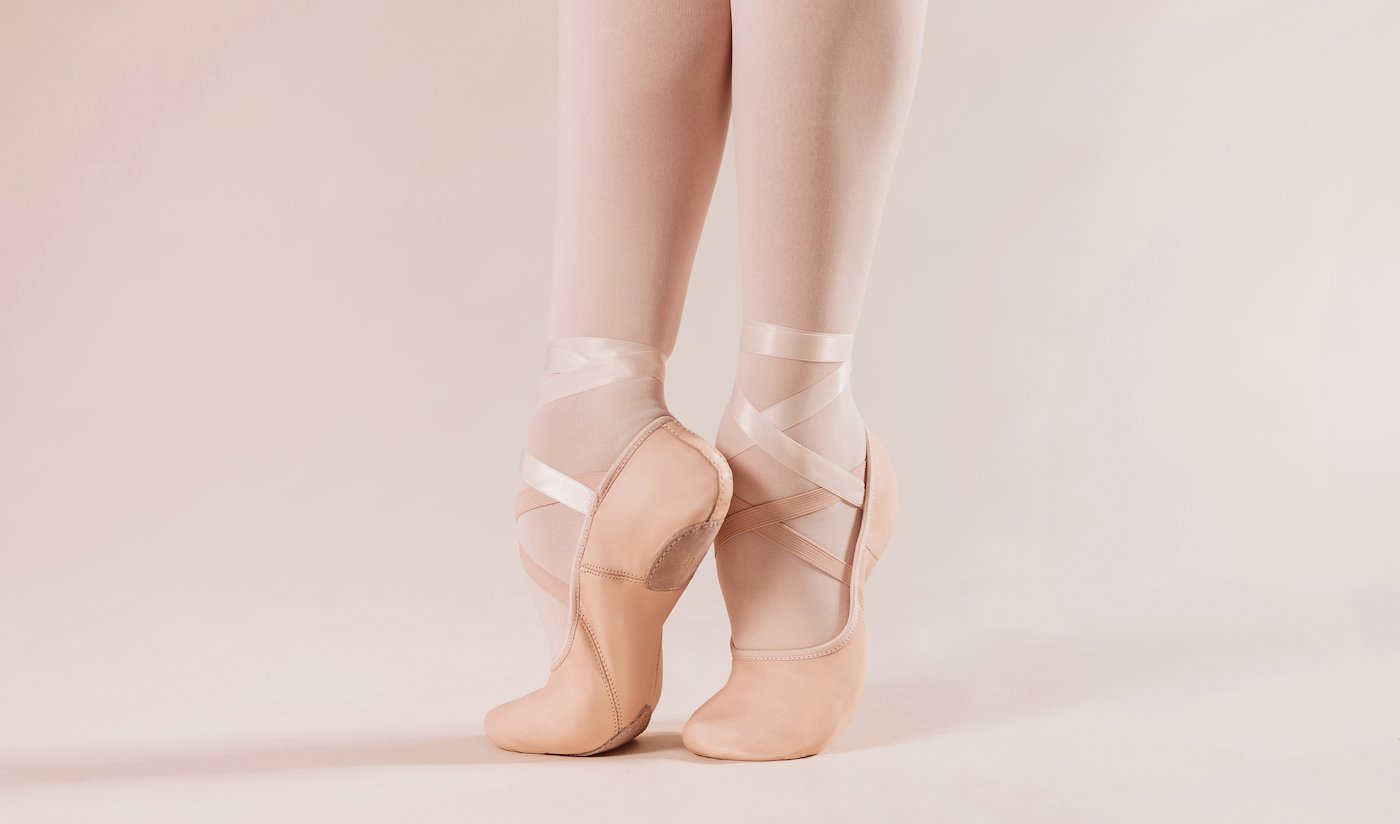
Your ballet shoes are now ready for class. Happy dancing!
Article and photography by Elly Ford
Read More:

Choosing the Best Ballet Shoe for You

6 Simple Exercises for Improving Ankle Strength

